Blog 12: Pre-Flight Inspection: A Step-by-Step Guide
- Aalisha Sugur

- Mar 27, 2025
- 5 min read
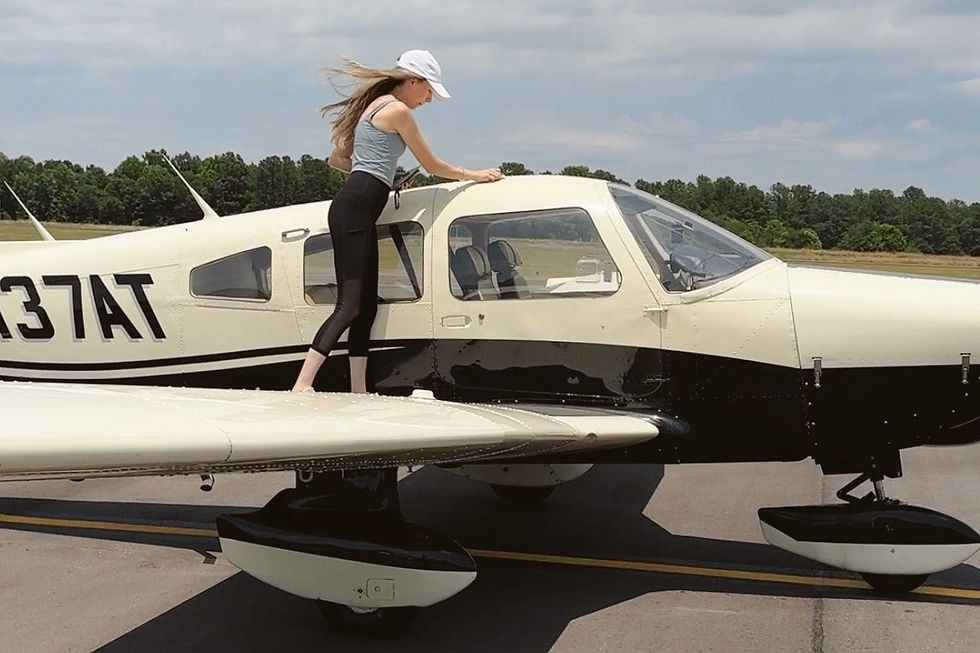
“Before every flight, the hands that touch the airplane start the journey — a thorough pre-flight is the pilot’s first act of safety and respect.” — Aalisha, Student Pilot | Princeton Flying School
Every flight I’ve taken began with one essential routine: the pre-flight inspection. It’s a ritual I hold with great respect now, but I remember when I started training, it felt overwhelming and a bit tedious. The checklist seemed long, and I wasn’t always confident about what exactly to look for or why. Over time, though, I discovered that this walkaround inspection isn’t just about ticking boxes — it’s a vital step that builds a connection between pilot and machine and ensures safety for every flight.
In this blog, I’ll share my detailed step-by-step approach to pre-flight inspections, how it boosts confidence, and some tips I’ve picked up to make it smooth and thorough. Whether you’re just starting out or want to deepen your understanding, this guide will help you appreciate why mastering the walkaround sets you up for success in the skies.
The Crucial Role of Pre-Flight Inspections
A pre-flight inspection is your aircraft’s first safety checkpoint. It’s your chance to find anything that might cause problems once you’re airborne — and to address it before engines even run. Mechanics certainly do maintenance, but as the pilot in command, the plane’s condition is ultimately your responsibility. My flight instructor always stressed: “Better to find a small issue on the ground than face an emergency in the sky.”
The inspection also connects you to the aircraft in a hands-on way. You stop seeing it as a complex machine and start sensing it as a partner on your journey. Understanding how it’s put together and how it reacts to touch helps when you’re flying and need to troubleshoot or respond to abnormal behavior.
Preparing for the Inspection: Mindset and Environment
Before you step outside, take a moment to prepare mentally. I find that slowing down and focusing makes the entire process more effective. Make sure you have your checklist ready—either a printed one or an app on your tablet or phone—and a flashlight if it’s dawn, dusk, or dark.
Choosing the right environment to do your inspection is important too. A flat, well-lit ramp or parking area gives the best visibility and safety for your walkaround. Avoid distractions like phone calls or rushing. I like to think of this time as my moment to connect with the aircraft and the day’s upcoming adventure.
Step-by-Step Pre-Flight Inspection Routine
Here’s my full routine that covers every important aspect. I split this into exterior and interior checks to keep it organized.
1. Exterior Walkaround
Start at the front of the aircraft, by the nose or propeller if it’s a piston plane, or jet intake if a turbine. Move clockwise or counterclockwise consistently to avoid missing sections.
Propeller/Spinner: I check for nicks, cracks, or bends. Even small damage can cause vibrations and reduce safety. I gently move the prop by hand to feel resistance and listen for unusual noises.
Engine Cowling: Look for dents or loose panels. I sometimes peek inside for signs of oil leaks or fluid drips.
Oil Level: I remove the dipstick, wipe it clean, reinsert, and pull it out to check the oil level is within safe limits. Good oil is critical for engine health.
Landing Gear: Tires are inspected for proper inflation, nicks, cuts, and tread wear. I ‘kick the tire’ lightly to check firmness. I also check struts for leaks and proper extension (if retractable gear).
Brakes and Brake Lines: I visually inspect for hydraulic leaks or worn discs if visible.
Wings and Control Surfaces: I run my hand smoothly over the surface to feel for dents or loose rivets. The ailerons and flaps are moved through their full range to check freedom of motion and security of hinges.
Fuel Tanks and Caps: After visually checking the fuel tanks, I open the caps and use a fuel tester to drain a small sample into a clear container. I look for water, sediment, or discoloration that can indicate contamination.
Pitot Tube and Static Ports: These critical instruments must be clear of obstructions. Being blocked could give false airspeed or altitude readings.
Lights: I verify navigation, landing, strobe, and taxi lights are intact and lenses clean.
2. Interior Cockpit Check
Flight Instruments: Power on the avionics master and ensure key instruments start correctly. I verify the altimeter setting is current and check indicator needles for smooth movement.
Control Stick/Yoke: I move controls through full ranges to confirm smoothness and responsiveness.
Fuel Selector: Confirm it’s on the proper tank selection and moving freely.
Flight Controls: Check trim, brakes, and rudder pedals for proper function.
Avionics and Radios: I power up radios, set frequencies for familiarization, and check transponder codes.
Documents and Equipment: I confirm the Aircraft Registration, Airworthiness Certificate, Operating Handbook, and Weight & Balance info are onboard. Emergency equipment such as fire extinguishers and first aid kits are checked too.
Door and Window Locks: Confirm secure closure to avoid distractions or safety hazards in flight.
Common Issues I’ve Learned to Spot
Early on, my instructor shared some common “gotchas” that pilots often miss:
Fuel contamination, especially after rainy or humid conditions.
Loose or missing screws on control surfaces that can cause flutter in flight.
Cracked or clouded windows, reducing visibility.
Worn tires that might unexpectedly blow on takeoff or landing.
Incorrectly set fuel selectors or switches in the cockpit.
Being vigilant about these helped me avoid flight delays or worse, in-flight emergencies.
Tools and Technology That Can Help
While the hands-on look and feel’re irreplaceable, technology can support thorough checks too:
Some pilots use apps to log inspections and track maintenance issues over time.
Flashlights with adjustable brightness and narrow beams help inspect in low light.
Portable fuel testers with magnifying components make identifying water or sediment easier.
Using a headset or talking to a more experienced pilot during your walkaround can provide real-time fresh eyes.
Building Confidence Through Routine
Doing a pre-flight inspection builds confidence not just in the aircraft, but in yourself as a pilot. It helps develop a mindset of safety and situational awareness. Over time, this becomes less a “task” and more a habit—a ritual that calms nerves and sharpens focus before every flight.
I remember one day early in my training when the inspection took extra time because I spotted a slight leak on the engine cowling seal. We didn’t fly that day, but I learned how critical it is to detect even the smallest concerns. That lesson stayed with me every flight since.
Final Thoughts: The Walkaround is Your First Step to the Sky
Pre-flight inspections might seem detailed and time-consuming, especially at the beginning of your aviation journey. But as I’ve experienced firsthand, these steps protect you, your passengers, and your aircraft. It’s a gesture of respect to the airplane and to those who fly with you.
So slow down, focus, and really get to know your aircraft before each flight—the journey starts well on the ground.
Safe flying, and clear skies always!
Aalisha


Comments